
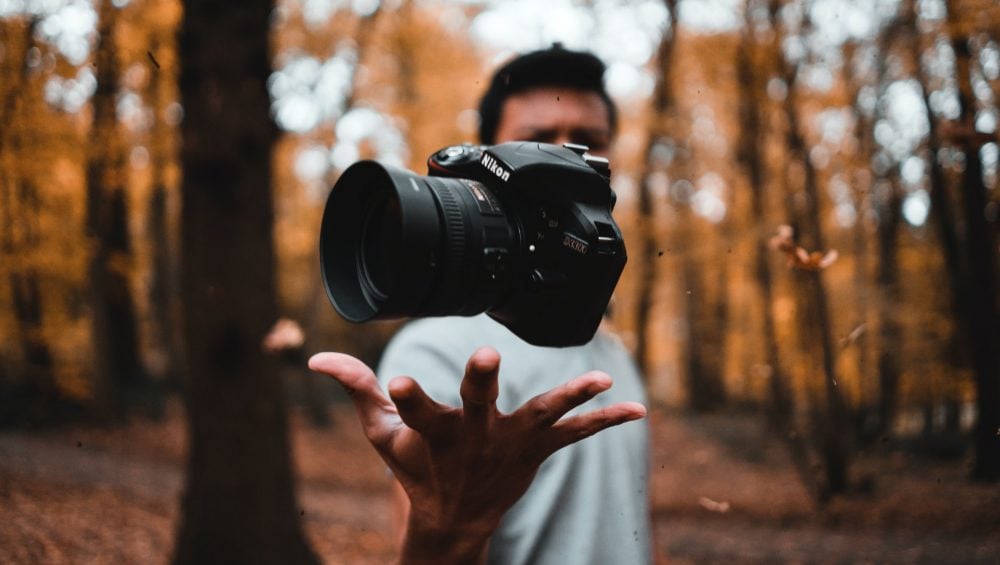
Photos are the most effective canvass to save memories, tell stories, and share the joys of life. There are numerous reasons to start up photography, whether you’re a new mom seeking methods to capture the best photos of your kid growing up, looking for unique Instagram photo ideas, or planning a trip to a scenic place with plenty of stunning sceneries.
However, if you’re new to DSLRs or aren’t used to using your smartphone camera, your camera may feel intimidating. If that’s the case, we’ve got you covered with our beginner’s photography guide.
We’ll walk you through the camera and photography basics, as well as some of our favorite beginner photography advice.
7 Basic Techniques to Improve Your Skills in Photography
1. The Exposure Triangle
Exposure triangle is made up of three sides: aperture, shutter speed, and ISO. They collaborate to create a properly exposed photograph. To maintain the right exposure, at least one of the other variables must also vary. Every advanced and professional photographer today absolutely needs to learn how to use exposure in photography. When you first start taking pictures, you might be confused by the countless buttons and menu options on your camera.
However, there is no excuse for using a bad in-camera exposure. By understanding how to expose an image properly, you will be able to capture photographs of the ideal brightness, including high levels of detail in both the shadows and highlight areas.
The three most important camera settings of all are the shutter speed, aperture, and ISO.
Shutter Speed
We’ll start with a good one. Shutter speed isn’t particularly difficult; it is just the amount of time your camera spends taking a picture. This could be 1/100 of a second, or 1/10 of a second, or three seconds, or five minutes. Some people build custom cameras that take decades to capture a single photo.
Aperture
Aperture is very similar to the “pupil” of your camera lens. Just like the pupil in your eye, it can open or shrink to change the amount of light that passes through.
Aperture blades work a lot like the pupil in your eyes. At night, your pupils dilate so you can see things more easily. The same is true for aperture. When it is dark, you can open the aperture blades in your lens and let in more light. Aperture is written as f/Number. For example, you can have an aperture of f/2, or f/8, or f/16, and so on.
It is very important to remember that aperture is a fraction. This is the biggest mistake beginners make when they talk about aperture. If you get this wrong, it will be difficult to remember how aperture works or use it yourself to capture the right exposure in the field.
ISO
ISO is an interesting one. It brightens your photos, but it is not part of your “luminous exposure,” since it does not affect the amount of light that reaches your camera sensor (the definition of exposure). Instead, it merely brightens a photo in-camera after your sensor has already been exposed to the light.
Take note that it is useful to raise your ISO when you have no other way to brighten your photo – for example, when using a longer shutter speed will add too much motion blur, and you are already at your widest aperture. It is a very valuable setting to have, but it is not all good news. When you raise your ISO, your photos will be brighter, but you’ll also emphasize grain (otherwise known as noise) and discolored pixels in the images along the way.
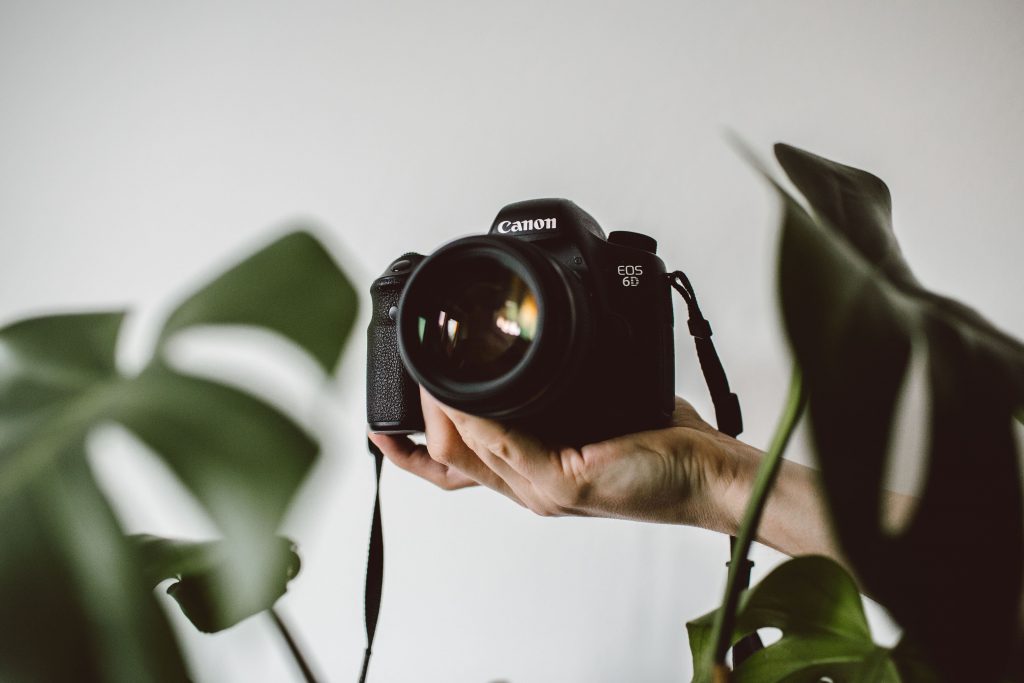
2. Hold the camera properly
You should try to keep the camera as still as possible. In your right hand, hold the camera’s handgrip, and in your left, cradle the camera body or lens. To maintain your upper body stable, prop your elbows lightly on your torso for support and place one foot half a pace ahead of the other.
Also, you need to hold the camera as steady as possible. Hold the camera’s handgrip in your right hand and cradle the camera body or lens with your left. Keep your elbows propped lightly against your torso for support and place one foot half a pace ahead of the other to keep your upper body stable. This is a steadier position than holding the camera away from your face.
Use your left hand to cradle the lens, so that it’s helping to support the weight of the camera.
The added weight of a digital SLR can also help to steady the camera. Wrapping your left hand over the top of the lens makes it less stable and more likely that you’ll move the camera while shooting. Next, when you’re ready to take the picture, press the shutter release button halfway to focus. When the focus is complete, the selected focus point or points will be briefly highlighted. Smoothly press the shutter release button the rest of the way down to release the shutter and record a photograph. Try these suggestions and you may see less blur and more sharp, in-focus pictures.
If it’s windy or your shutter speed’s getting slow (1/100 or lower) try to find something to lean your body against, like a tree or a pole. You can also place your elbows on a low wall or table. You may not always have a tripod with you, but you have a bipod—yourself. Do everything you can to be as solid a platform as possible for your camera, and it will reward you with sharper pictures.
3. Rule of Thirds
Perhaps the most well-known and widely used photography and cinematographic method is this compositional rule. This rule serves as a dependable guideline for framing your photographs and is an ideal place to start for beginners who want to dabble in the numerous composition principles. The Rule of Thirds is a technique for dividing an image into thirds by drawing two horizontal and two vertical lines across it.
This fictitious grid divides into nine sections, each with four junction points. When the most significant aspects of your image are placed at these junction locations, the image becomes much more natural. Any horizon should be put on either the top horizontal line or the bottom horizontal line. Because the eyes naturally gravitate to the center, off-center compositions are appealing to the sight. When a topic or object is off-center, viewers have the opportunity to interact with the space between them. As opposed to a totally concentrated subject, this allows for interpretation and conversation between the subject and the background.
4. Explore Alternate Perspective
Look at some simple ways you can use different perspectives to make your images stand out from the crowd, draw the attention of image buyers, and convey different messages within your imagery.
Get high up
Shooting from high up can provide interesting viewpoints and this can be in a variety of areas of photography depending on where you specialize. We’ve been noticing trends in flat lay which have continued to be popular since their emergence on Instagram in 2015. This type of imagery benefits from its high viewpoint above the subject and allows you to maximize the impact and convey a sense of scale to the viewer. Getting higher than your subject when shooting can give off different messages depending on the subject.
By photographing a Cityscape taken from tall buildings or a forest scene from high in the treetops. This type of location will provide you with a birds-eye view of your subject and give off the sense of scale and the expanse of the environment that surrounds it.
Get low down
In complete contrast, another perspective would be to shoot from low down or below your subject. Furthermore, this can be as simple as shooting from the hip or kneeling down. You could take this to the extreme by shooting from a prone, laid down position or place your camera on the ground and shoot straight up. When paired with lifestyle photography. This angle makes the viewer feel as though the subject is in control of a situation, providing a sense of confidence. It can also give added impact and a sense of drama to your images when paired with moving subjects.
Eye-level and Point of view
Taking your images from eye level is the simplest way to connect the viewer to the scene you are portraying. It provides the least amount of distortion to your subject when compared to shooting from above or below. These extreme angles will foreshorten your subject and emphasize certain features in the case of photographing people. Tie this with the added element of photographing in a POV (Point of View) style and your imagery will gain an extra element of immersion. You’ll be giving the impression to your viewer that they are seeing the scene from the first-person perspective. Include arms or legs within the image to give the impression the viewer is reaching into the scene.
5. Enhance Your photo
Beginning photographers often face the same challenge ‒ how to enhance a photo. It may be a very cool shot, which has poor lighting, bad color correction, and various defects. But how to enhance it without ordering high-priced photo enhancement services?
If you are not satisfied with the quality of your photos there is no need to address professionals to get enhanced pictures. Many graphics editors can help you enhance photo quality but not all of them offer a wide range of settings and tools.
Photoshop is the best image editing software for PC boasting many useful tools and an intuitive interface. Speaking about free photo editing apps, we also recommend using Snapseed which also has broad functionality and free capabilities.
7. Invest Wisely on gadgets
Do It Because You Love It.
In fact, this probably something you should consider before you even start advertising yourself, and it’s a question I personally feel you should address throughout your time spent with a camera. Exactly how much do you love walking around with a camera and photographing things? What sort of time are you willing to spend as a photographer? Are you willing to do this full time? There’s no easy way around this: being a photographer is one of the hardest occupations in the age of today. Partly because of the competition and partly because of the world involved. If you’re thinking photography is an easy way to earn fame or make money, then it isn’t for you.
The best photographers are those who forsake both and venture out on their own anyway.
6. Practice! Practice! Practice!
Photography is a skill that needs constant practice and experimentation, so if you want to improve, you’ll need to constantly work on it. Here are some ideas for mini home projects you could do anytime.
When practising at home, the idea is to become a better photographer and so you will need to challenge yourself and build new skills as a photographer. Also, photographing and finding things to photograph inside the house can itself be a challenge and can turn you into a creative photographer in a few weeks of practice.
Live in the Picture Perfect Condominium in Davao City
Camella Manors Frontera is a Davao condo that combines exceptional frontier living, nature-inspired surroundings, and a sophisticated condominium lifestyle. It features the ideal blend of urban and suburban vibes that visitors, young professionals, students, families, and investors will adore!
Frontera is only a two-hour flight from Manila, making it accessible to both domestic and international visitors. The condo is conveniently positioned along Tigatto Road, Buhangin, Davao City, in the heart of an expanding commercial sector, surrounded by leisure hubs, lifestyle centers, and other business institutions.
A separate commercial strip will open soon, providing residents with a handy location to get their daily necessities. Tourist attractions, important infrastructure, churches, hospitals, schools, malls, and parks are all within easy walking distance.
The meditation garden, infinity pool, picnic hubs, sandbox play pit, alfresco fitness park, clubhouse lounge, jogging paths, kiddie pool, amphitheater seating, event hall, and pocket park are just a few of the relaxing pleasures of condo life in Frontera.
To keep you and your family safe, the condominium includes 24-hour security and an electric perimeter fence.
It’s a good idea to invest in a real estate property in a growing commercial center. If you want to make money off your condo, you can use Vista’s leasing services to rent it out. There are also current infrastructural developments around the property that could increase the value of the land in this area.
Invest now in Camella Manors Frontera!